IFAM Assembly Guide - Toy Organizers
If you are looking to buy a toy organizer, check out this simple comparison chart below for more details:

Next up on our assembly guide - IFAM baby Toy Organizers!
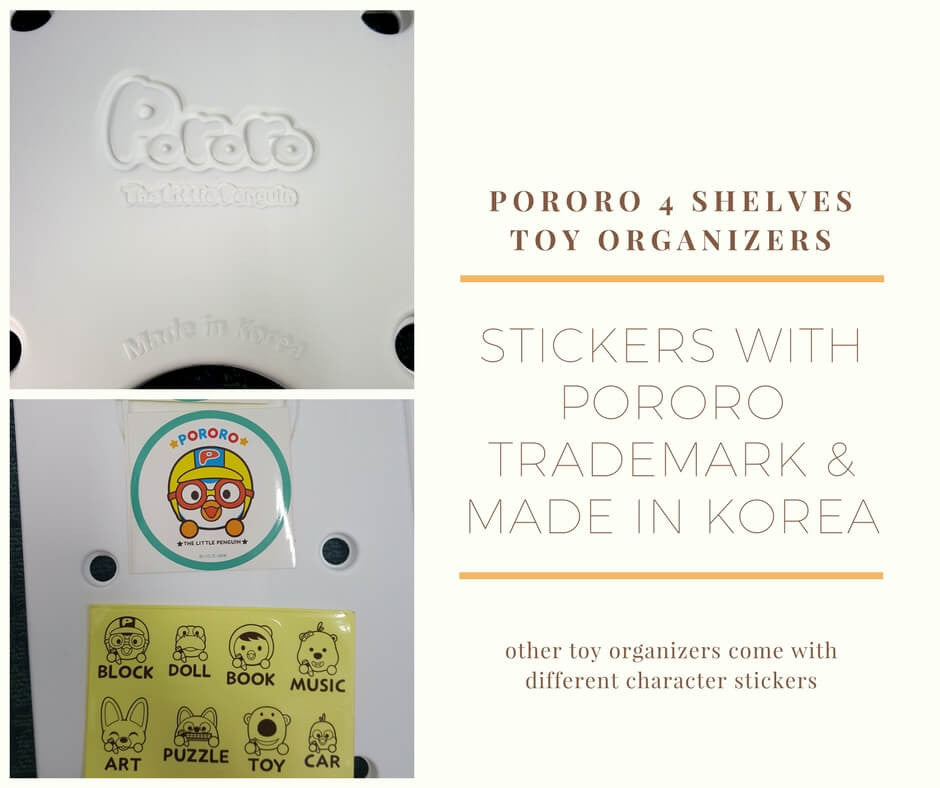
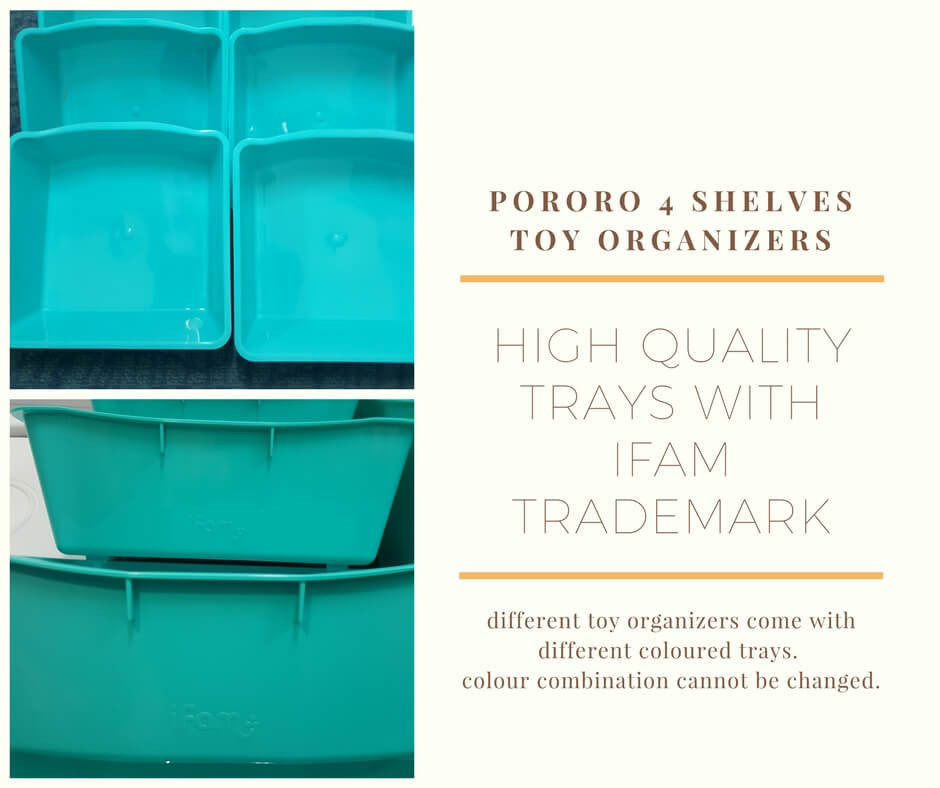
Our toy organizers are a big hit because of their amazing pastel colours and baby safety features. On top of that, they are also certified by KTC, Korea for the baby safety materials used.
Being one of our most popular product, this assembly guide will help our savvy mama and papa understand how easy it is to fix our toy organizers. So read on if you are one...
IFAM Assembly Guide Part 2 – Toy Organizers
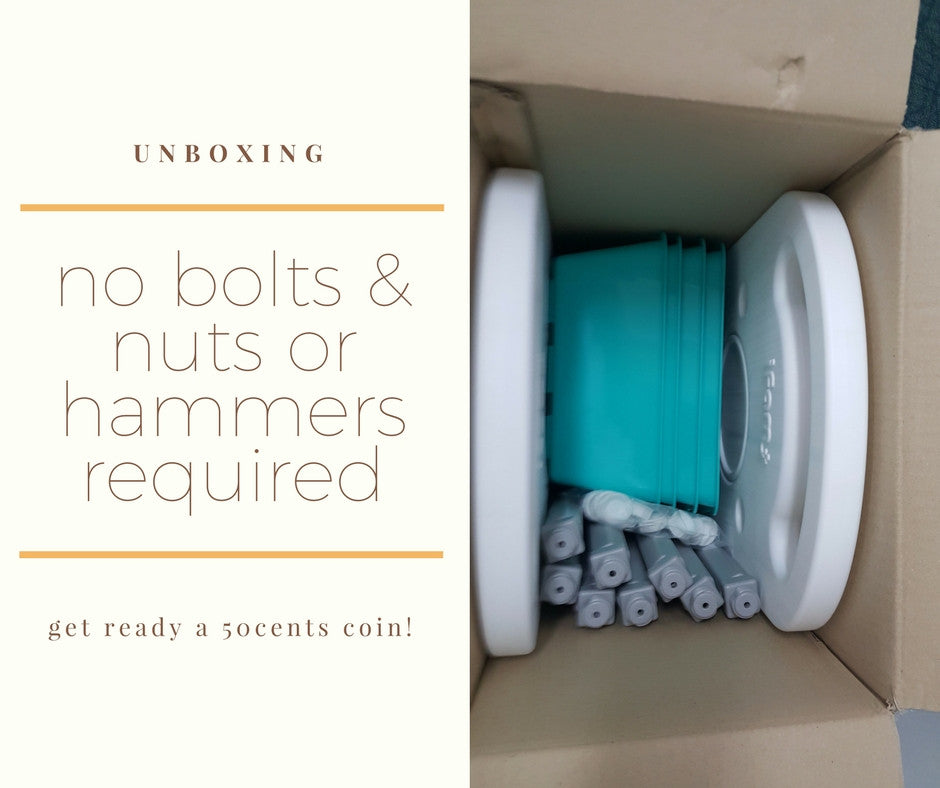
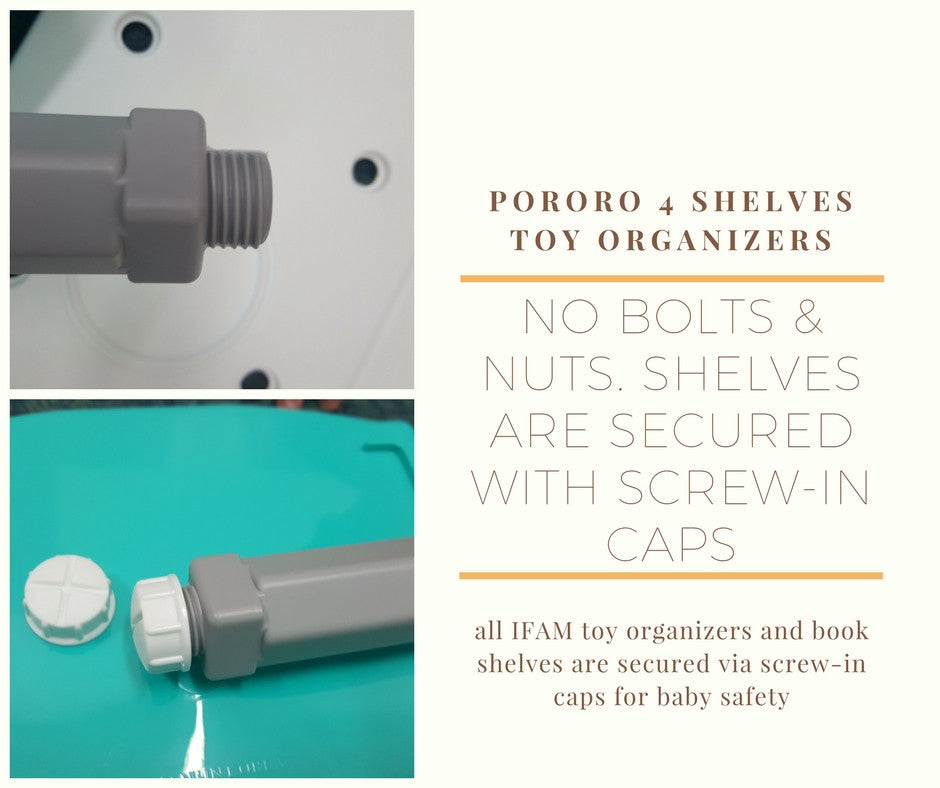
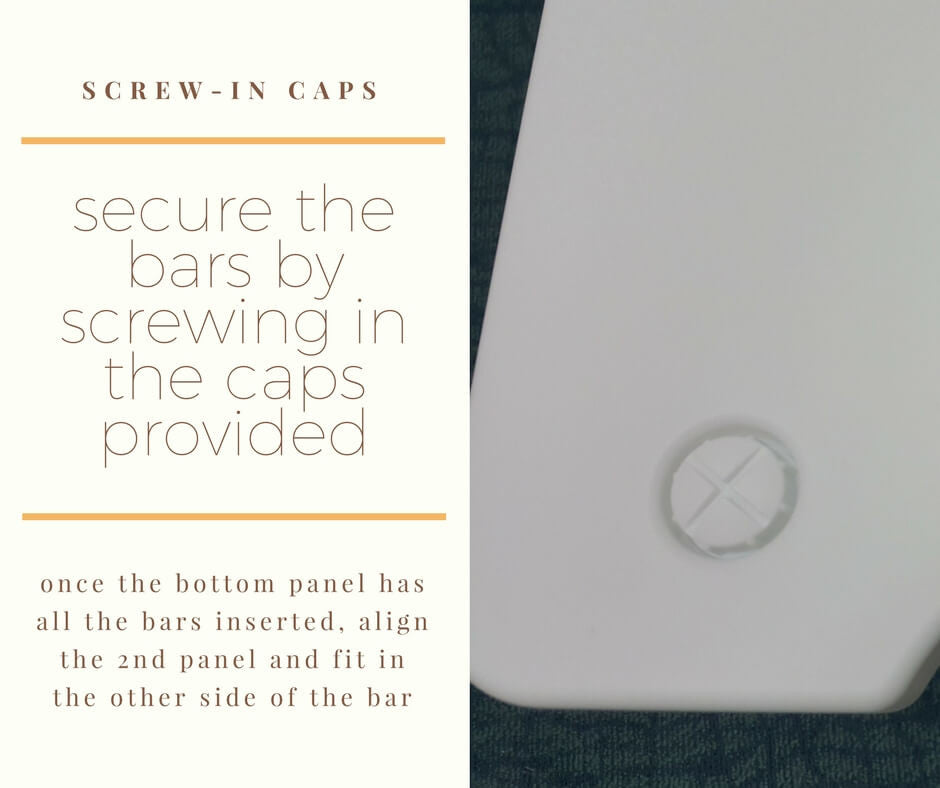
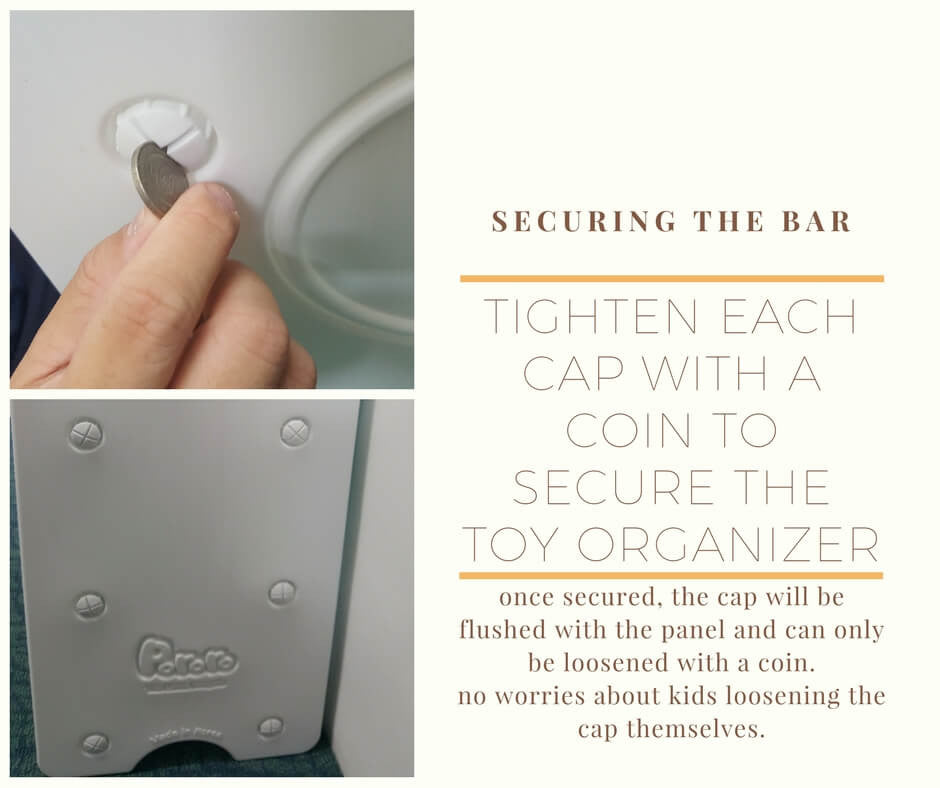
Just like the play yards, our toy organizers are extremely easy to fix! No bolts & nuts, screwdrivers or hammers required. A coin is all you need to tighten things.
This is also a good time to get your little ones to join in and start learning how to fix stuff themselves too!
1. Here is the box of Pororo 4 Shelves Toy Organizers (medium size toy organizer)
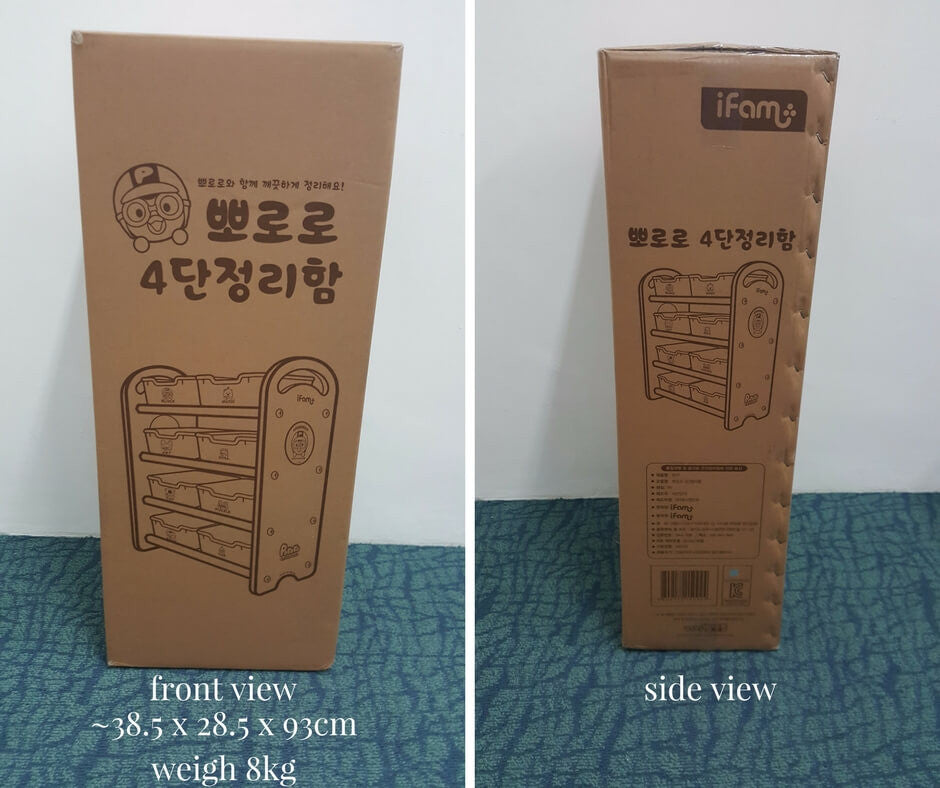

Note: a single toy organizer weighs ~8kg. Our best seller, Design Toy Organizer - Extended, Premium or Special configuration weigh at least 10kg or more per box.
2. Unboxing!

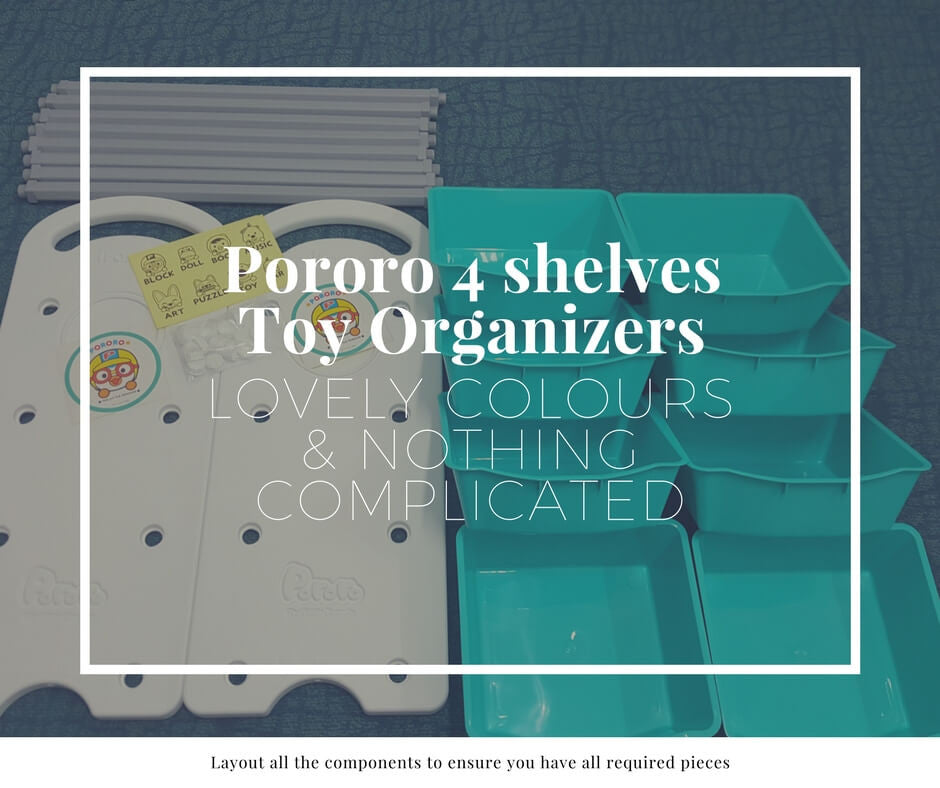
3. Lay Them Out - lovely pastel colours and nothing complicated

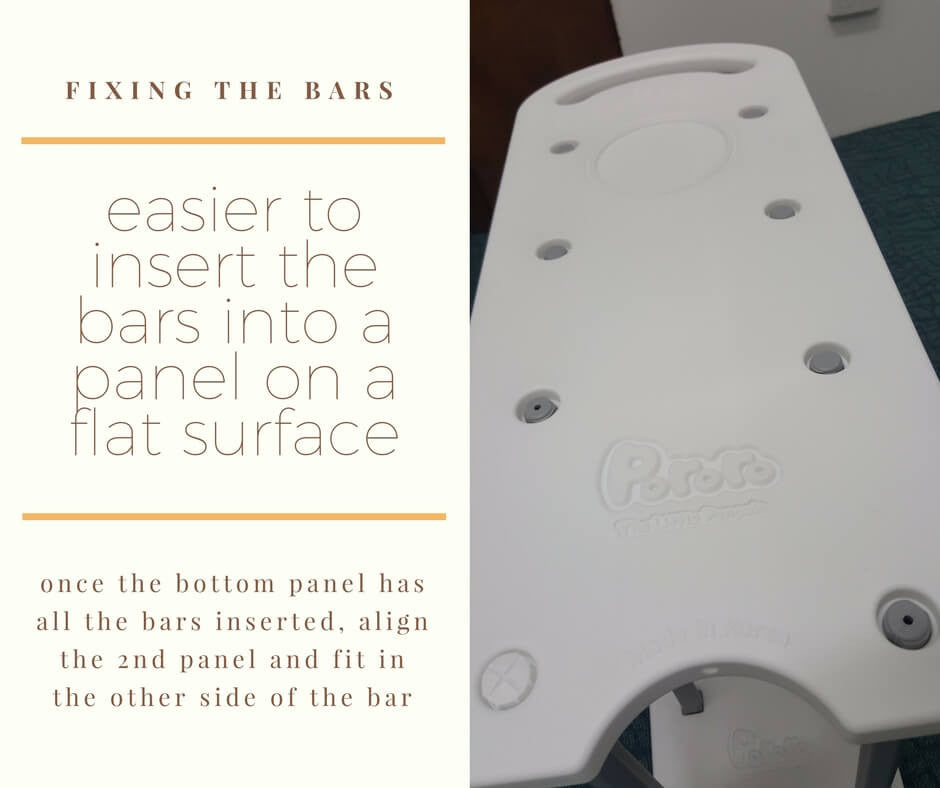
4. Fix it up
With everything laid out, the next step is to assemble them! Is your child ready too?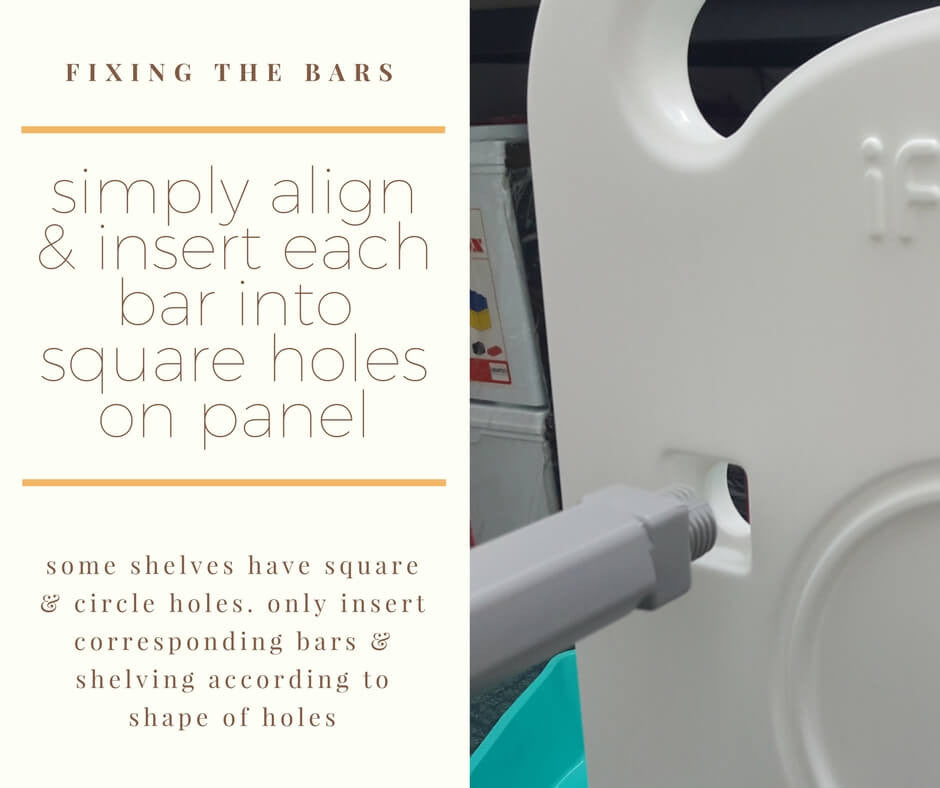
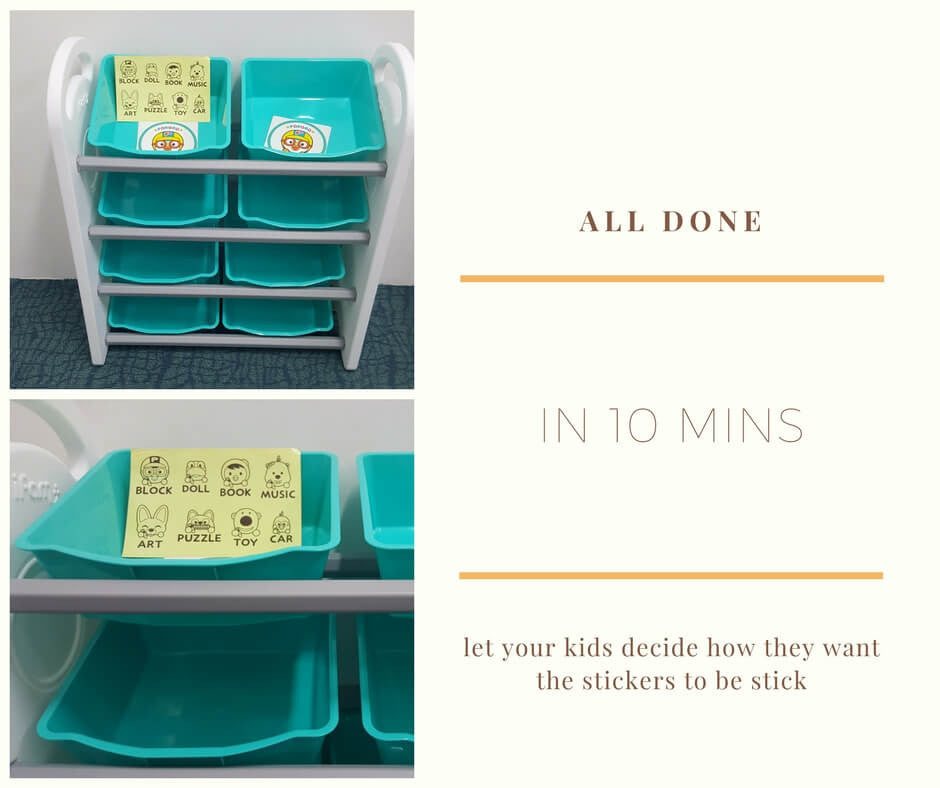
5. All Done in less than 10mins!

Guide for Bigger Toy Organizer
For our Design Toy Organizer series, there are several configurations to cater for more toys and books. When the toy organizer gets bigger, the complexity will increase slightly – but nothing too difficult.
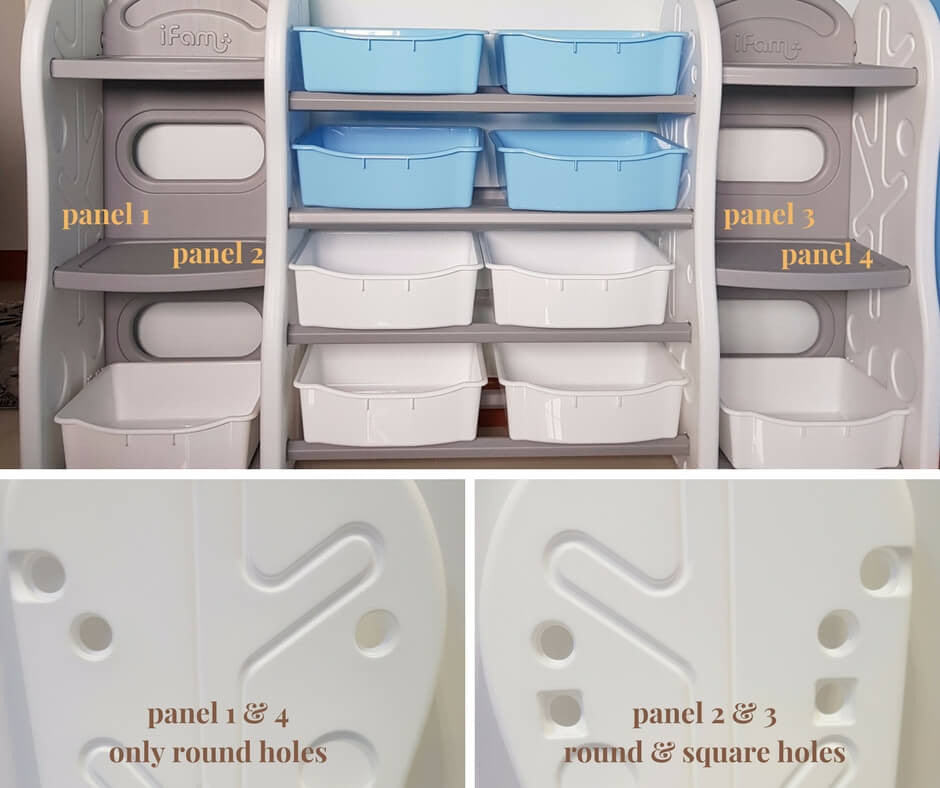
The panels in the middle (panel 2 & 3) has 2 types of holes, square and circle. This is to cater for the different bars and shelving on each side of the panel. Ensure square and circle head goes into their respective panel holes and you will be done in 10mins!
That's it for our Toy Organizer guide! If you have any questions, leave a comment below or email us at cs@adertek.com. We will get back to you as soon as we can!
Stay tune for our 3rd part which will explain more about our play yard accessories - to spice things up inside and around the play yard!